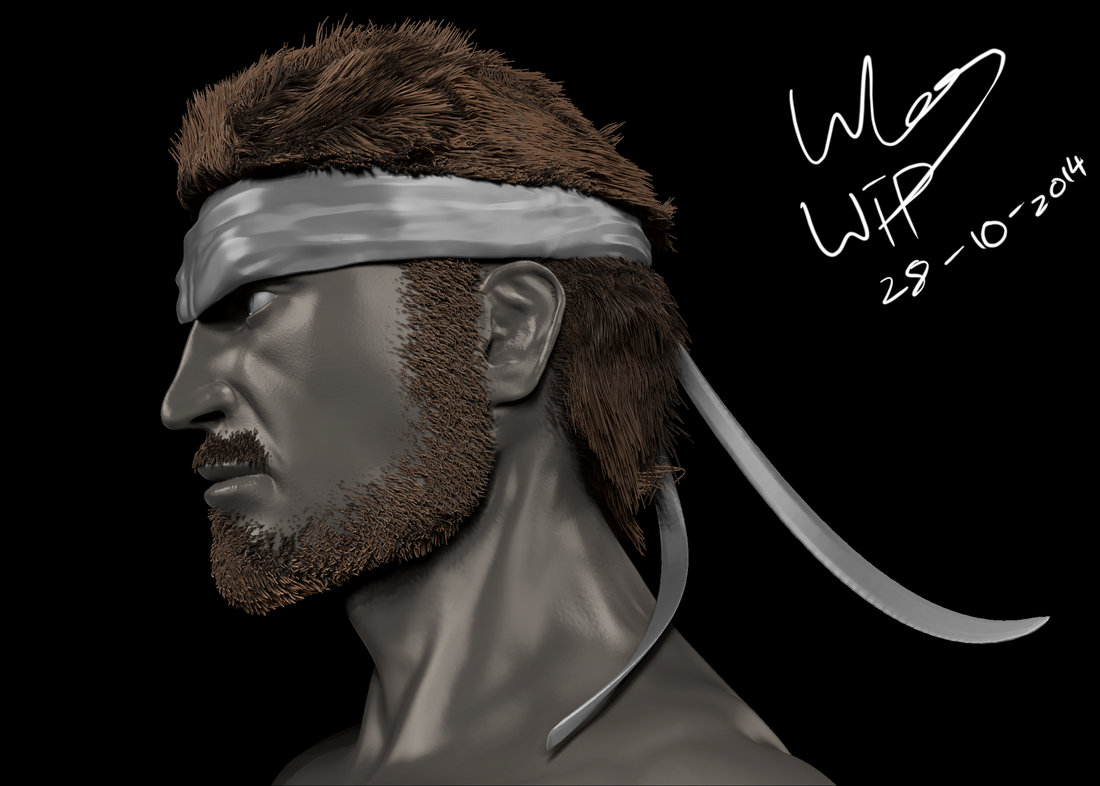
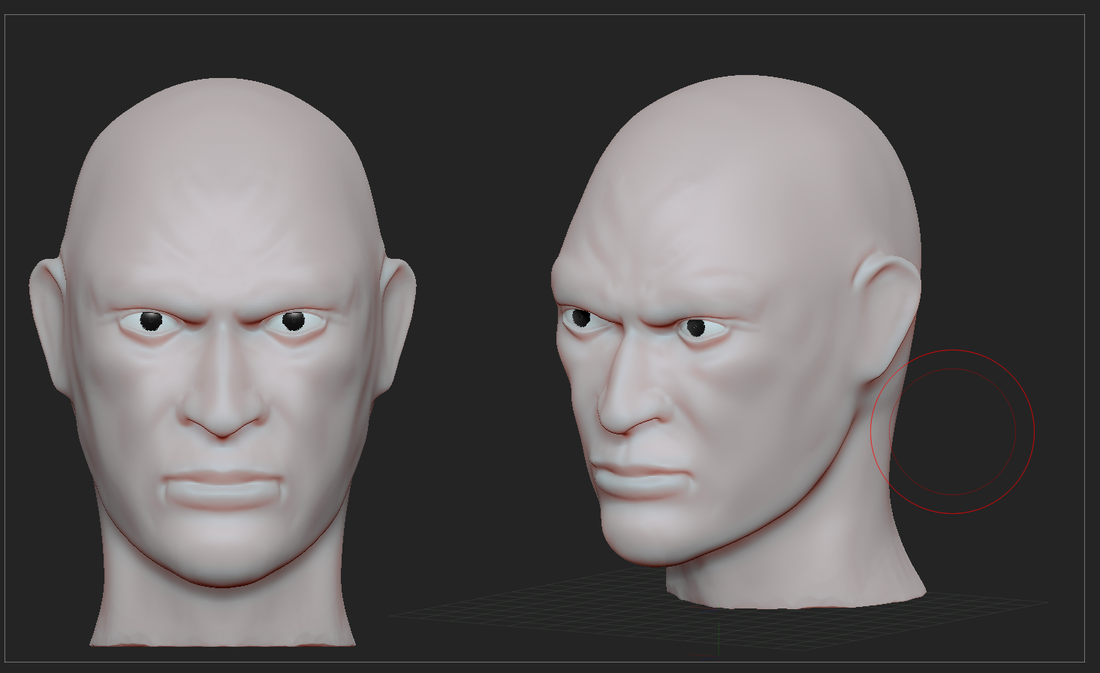
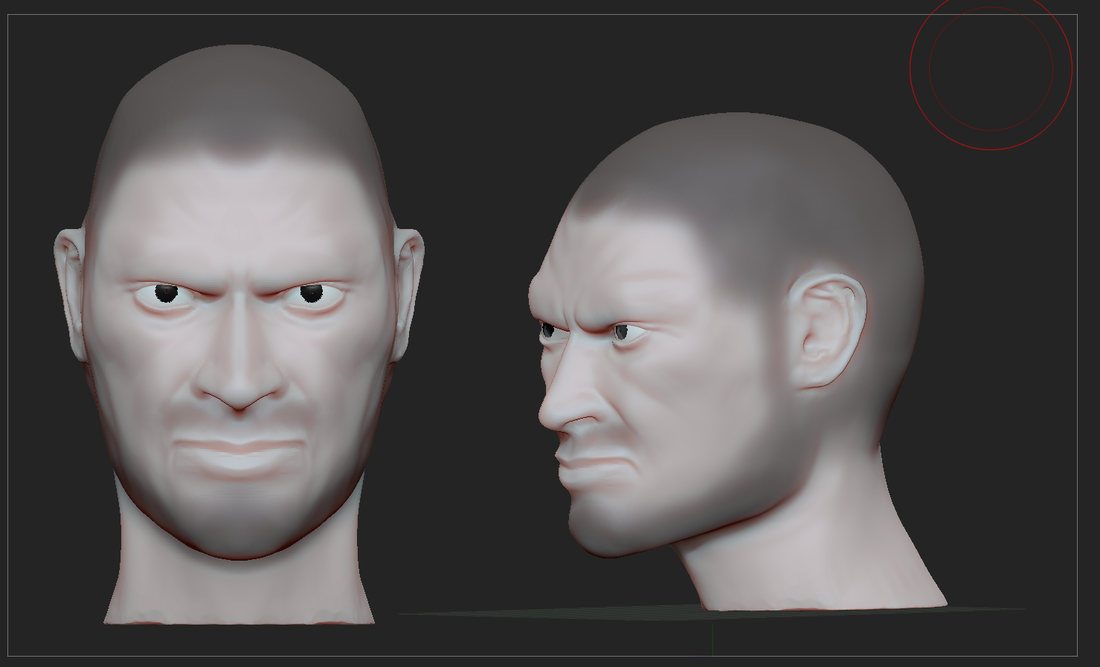
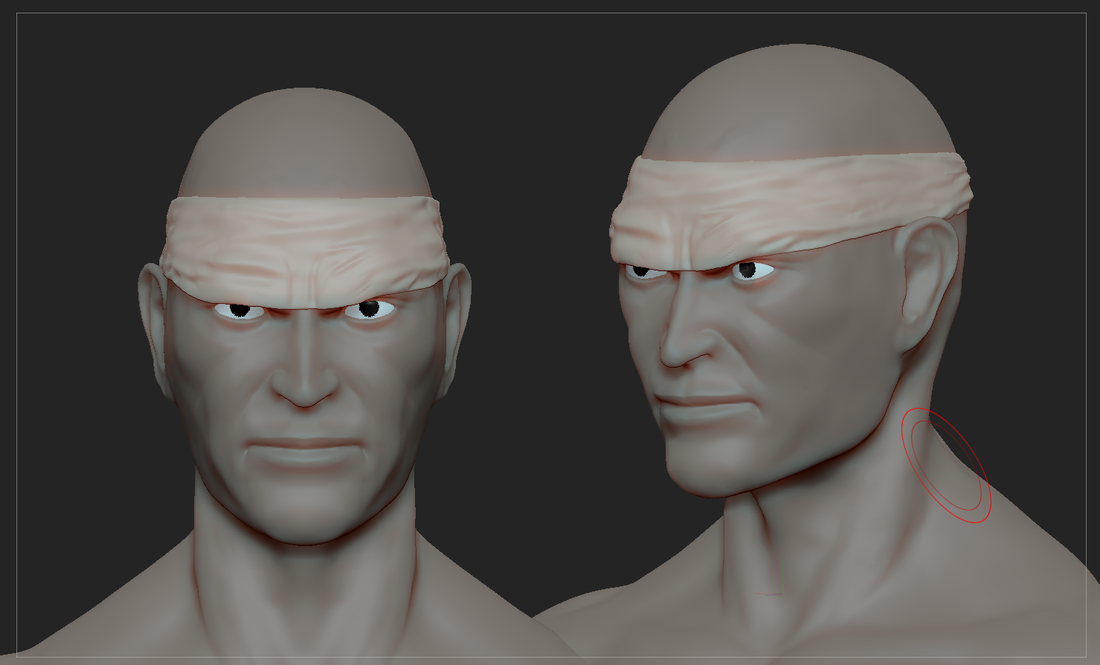
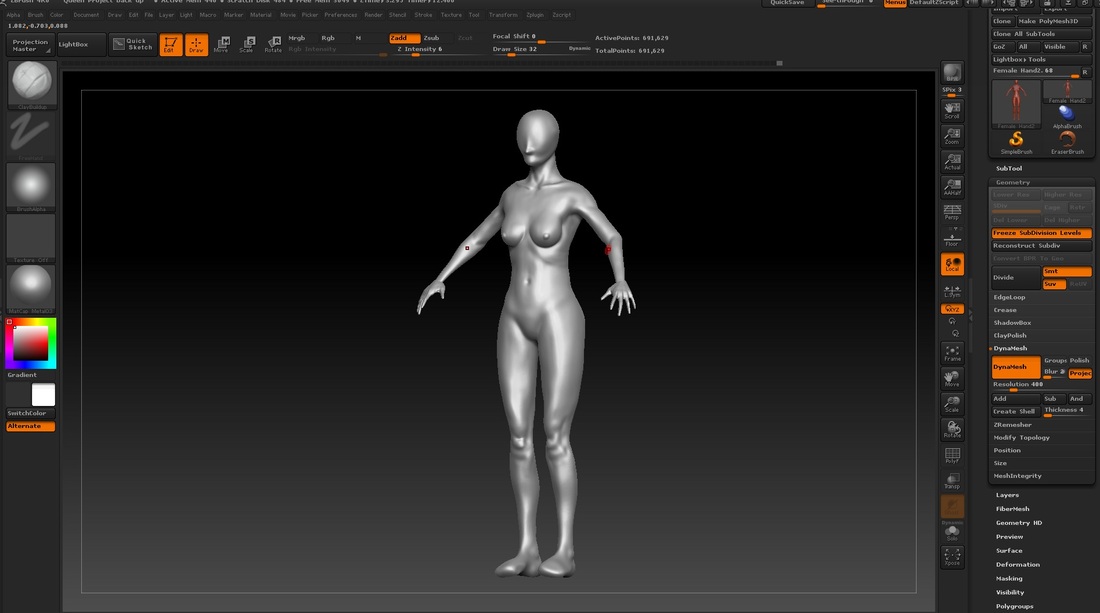
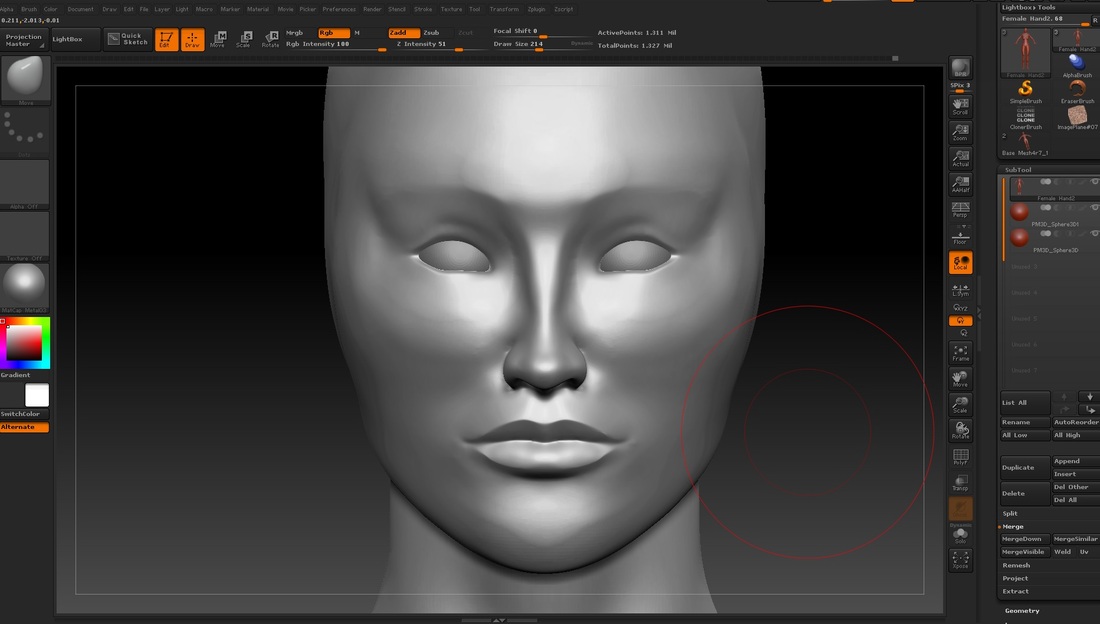
worked on skin pores for snake this week, first time putting down that much detail in a character befor. Still have no idea what Im doing in the pores, just guessing where the pores generally are in density and location of the face
|
worked on skin pores for snake this week, first time putting down that much detail in a character befor. Still have no idea what Im doing in the pores, just guessing where the pores generally are in density and location of the face
0 Comments
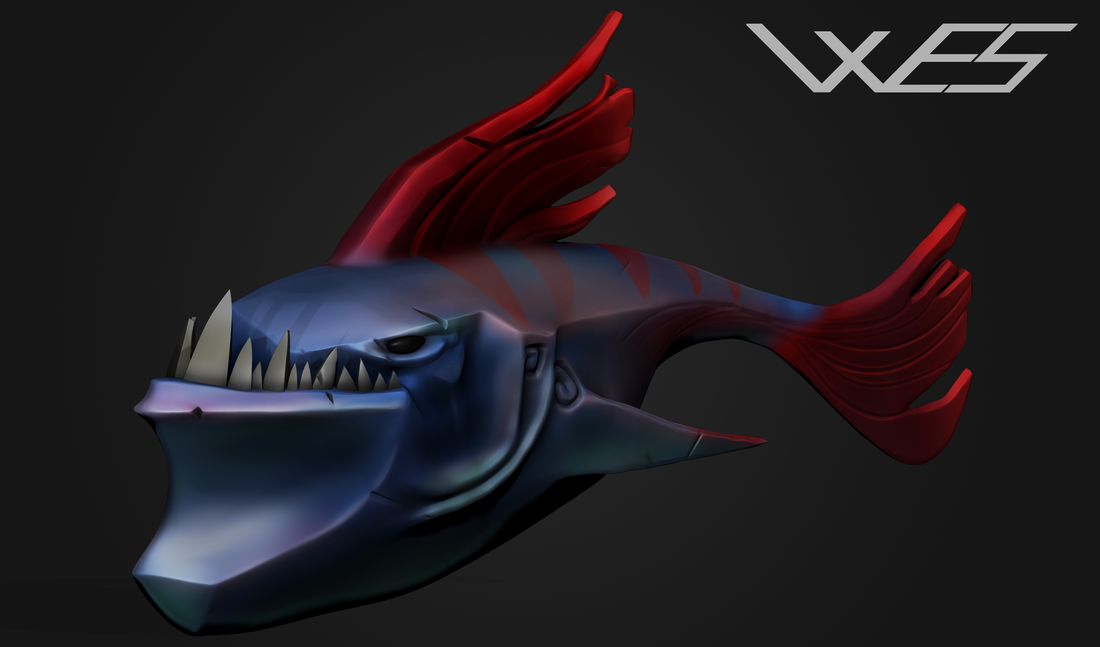
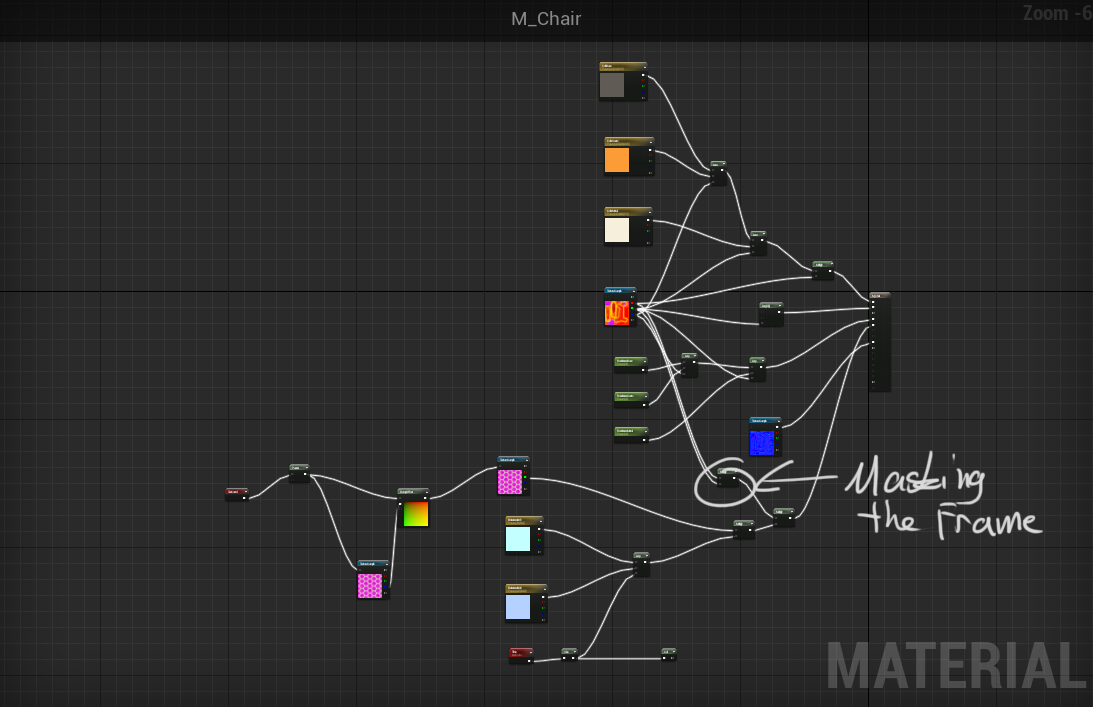
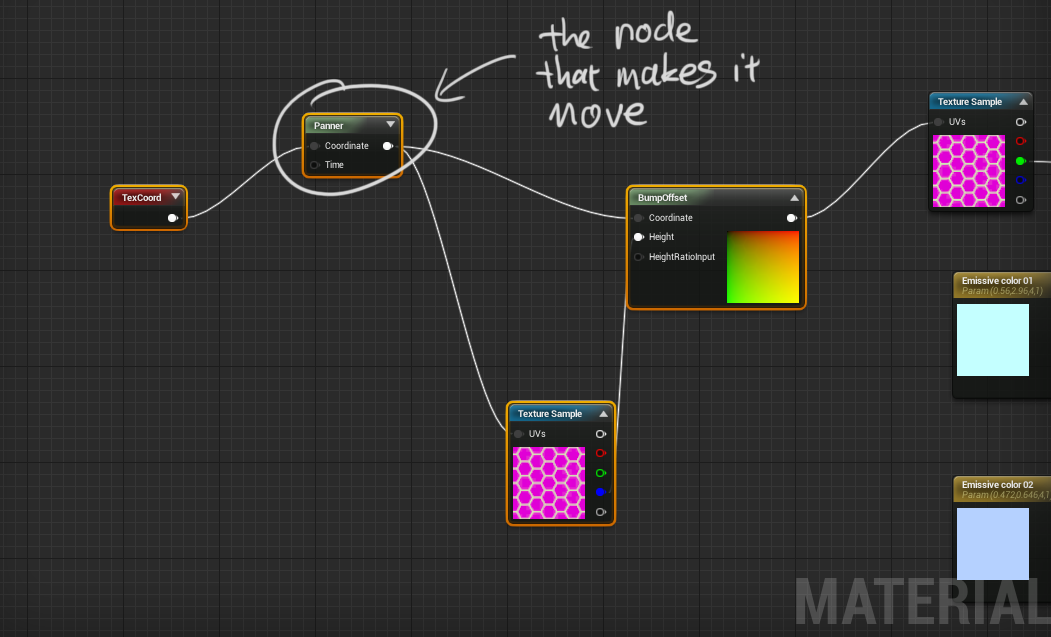
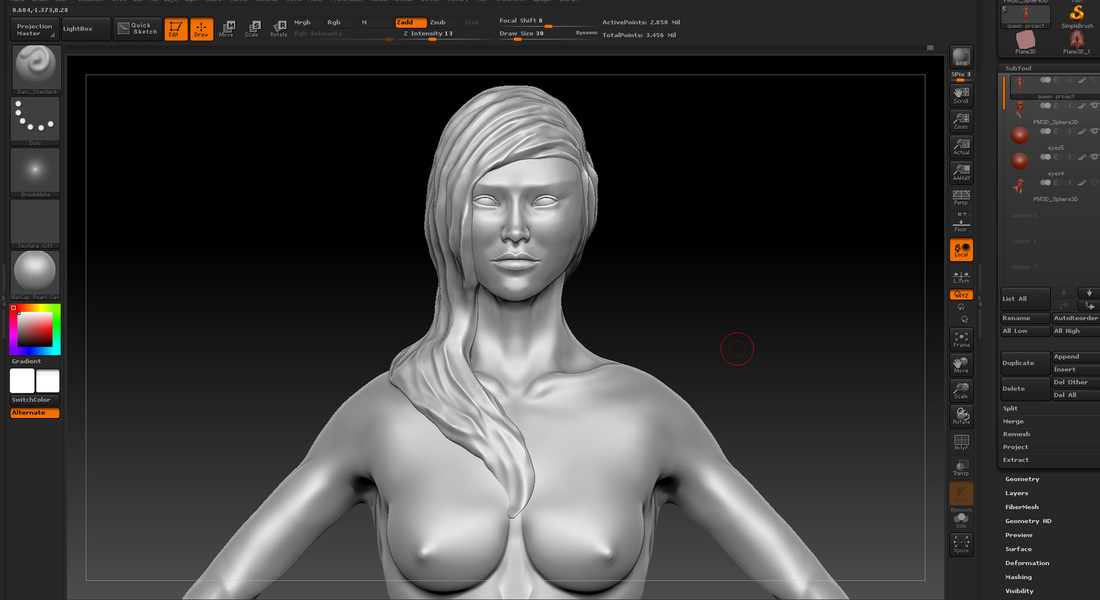
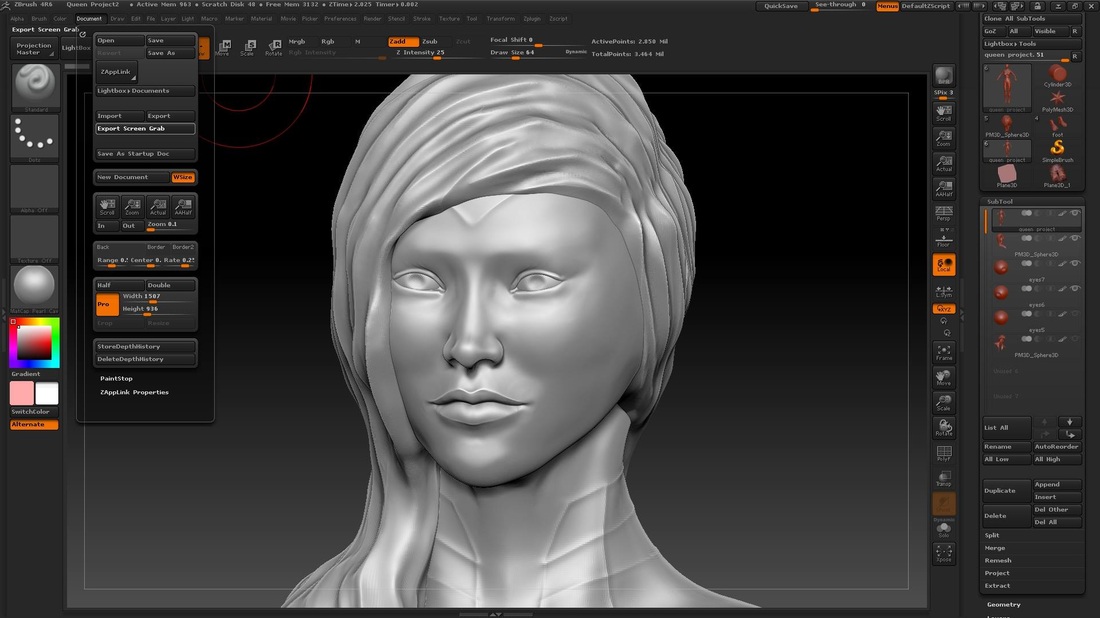
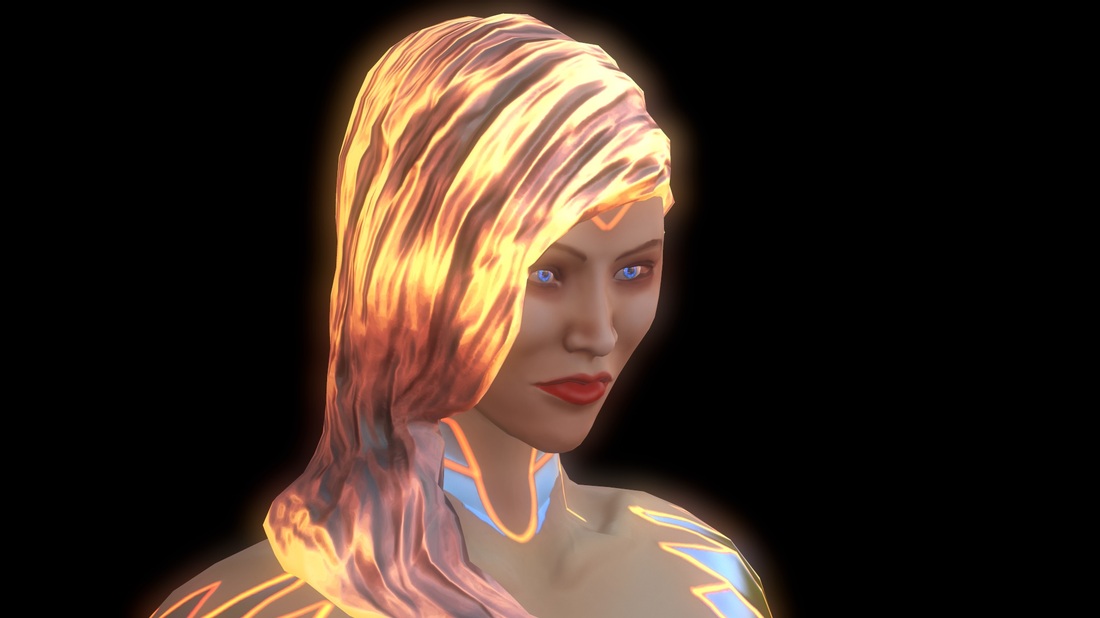
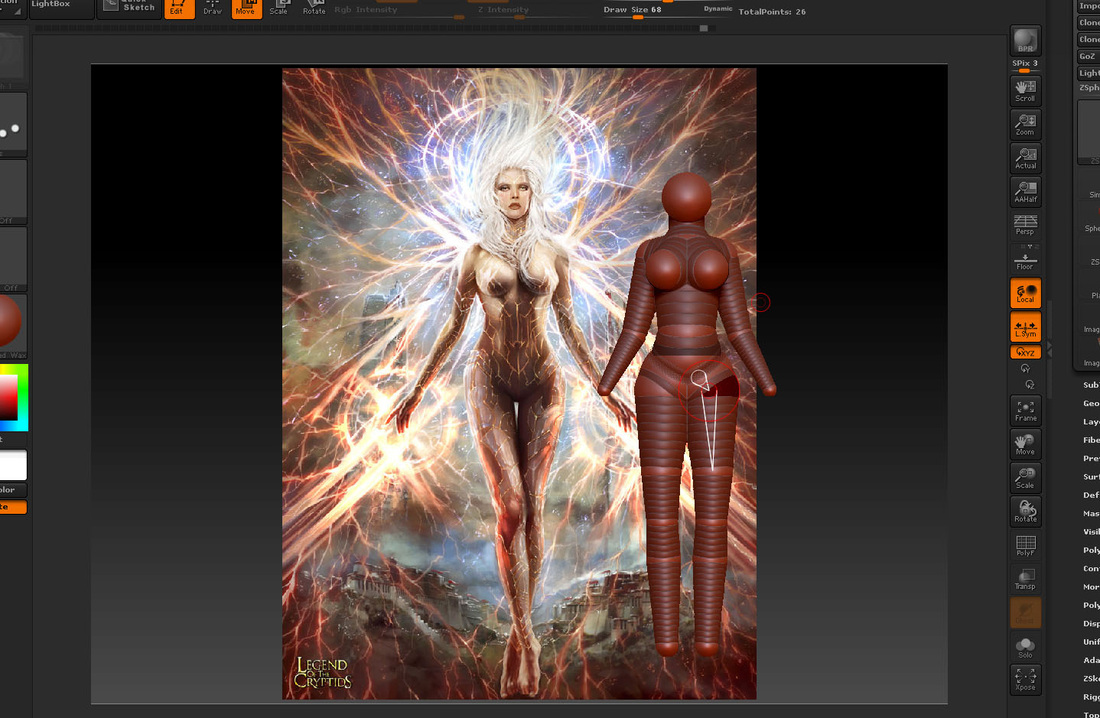
During the late hours of Saturday the 18th of October William Kok, a friend and fellow student, chose to annoy me with his beautiful sculpt of a female face, forcing me to spend 5 hrs on my sculpt. here's my progress so far So today i finally posted about my sculpt of Bruce the fish Originally the sculpt was going to be no more than just the high poly sculpt and the poly paint, with the nagginness of my teacher and the sudden appearance of another Peers work, finally convince me enough to finish the Fish. During the production of this model I encounter a problem with Bruce during the Baking from high to low poly process. It seems that the low poly sort of distorted with about half a days of problem solving, even freezes transform and delete history did not have an effect. I gave the model to my teacher and after a about 30mins of problem solving, Sam (teacher) finally fixed my problem. It turns out my model's uv has broken and the only good part of the model is the right side. which is weird due to the face that ive been modeling the left side of the face then mirroring the model over. After i read adjusted my uv's and it seems that it is the same problem. so what Sam told me is to just re UV the model again. Now a little bit of me died inside when i spent the WHOLE DAY BEFORE UVing the model (with about 5 hours of procrastination) involved, but managed to smash the model out within 5 mins easy. Today was the day i learnt how to render within Zbrush, this technique is really good when you want to showcase a Sculpted mesh, the MatCap materials makes everything a little bit fancy. When you render you get to render out multiple maps without wasting a lot of time rendering. What Zbrush does that it renders but dose not save out the renders, which confused me first but then i realize why its built that way, i spent a lot of time rendering out the perfect angle. in the end i compositing the render together within Photoshop and since i had like 6 Render passes to work with it allowed me to render a very fancy Fish. i would have so much trouble if it wasn't for Milicent, (the person i was talking about before, PRO) Very good in 2D 3D art, http://milicentlim.blogspot.com.au/ <- to her website, wonderful person. helped me with Zbrush Renders and tips and tricks along the way :D thank you!!! So today i'll be talking about Rolling UV Coordinates reason why im talking masking again is because how rolling uv's are useful in different types of situations. so what rolling uv's are basically moving texture coordinates from a to b, this really breaks up the dullness of a environment / character. take a look at Cortana from the famous halo series, the in game model has rolling uv's. using material masking i masked out the metallic frame and applied a different material set into the emissive, i basically copied the tech hex pulse material from the library and plugged it into the emissive. To make the texture actually animated, in front of the texture coordinate i applied the panner node, this allows you to make the tiled texture to pan in both X & Y
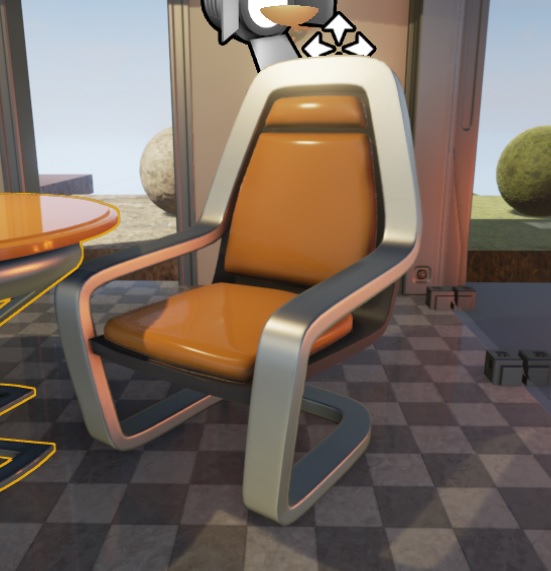
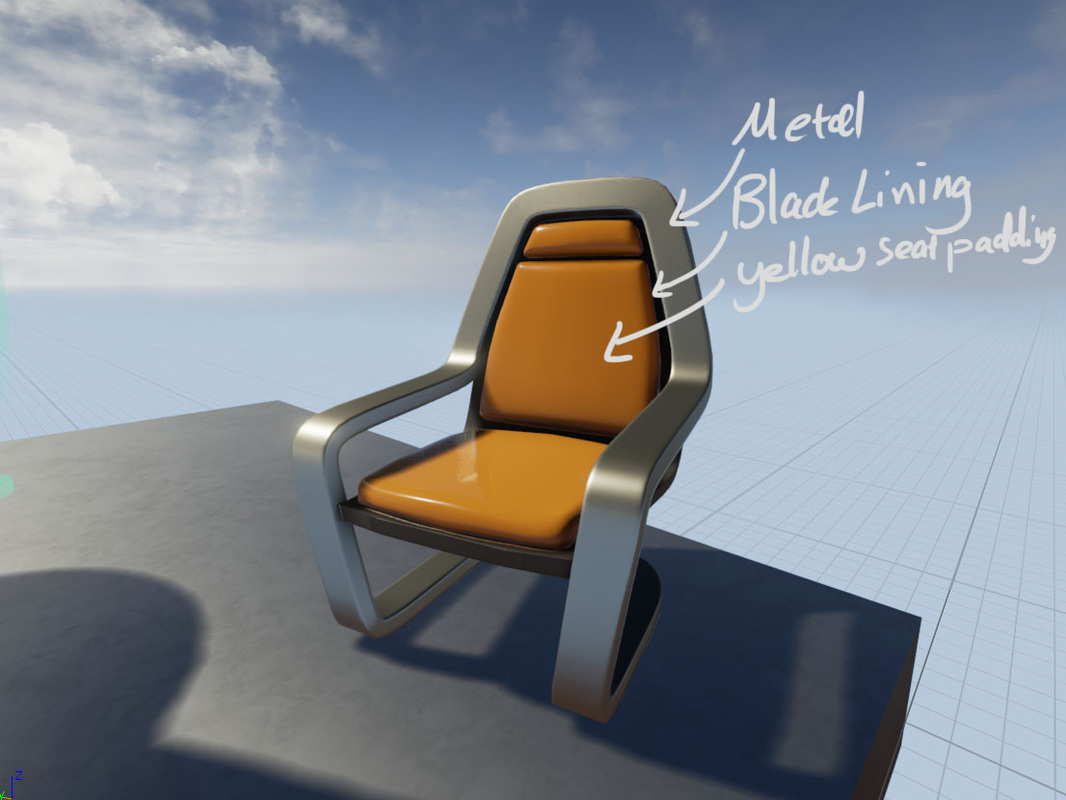
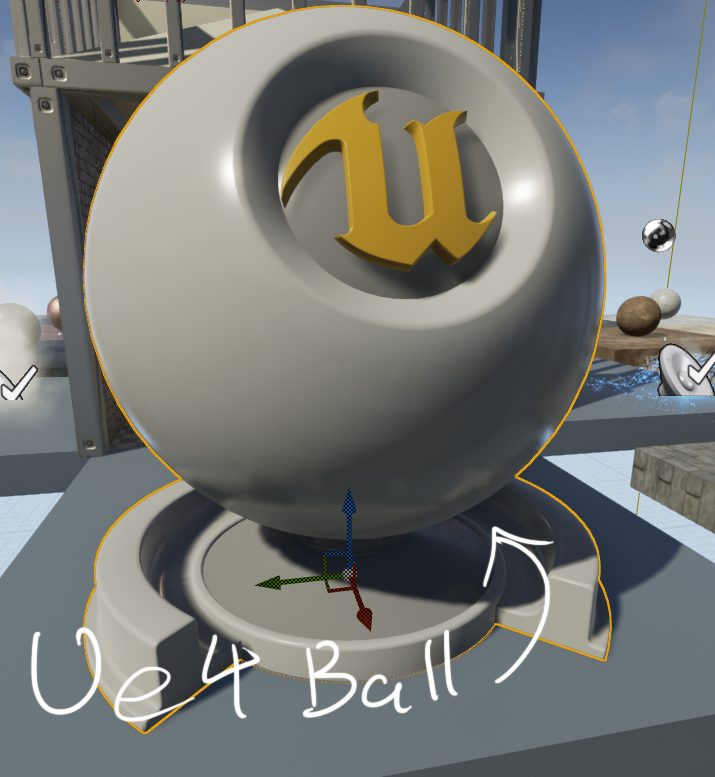
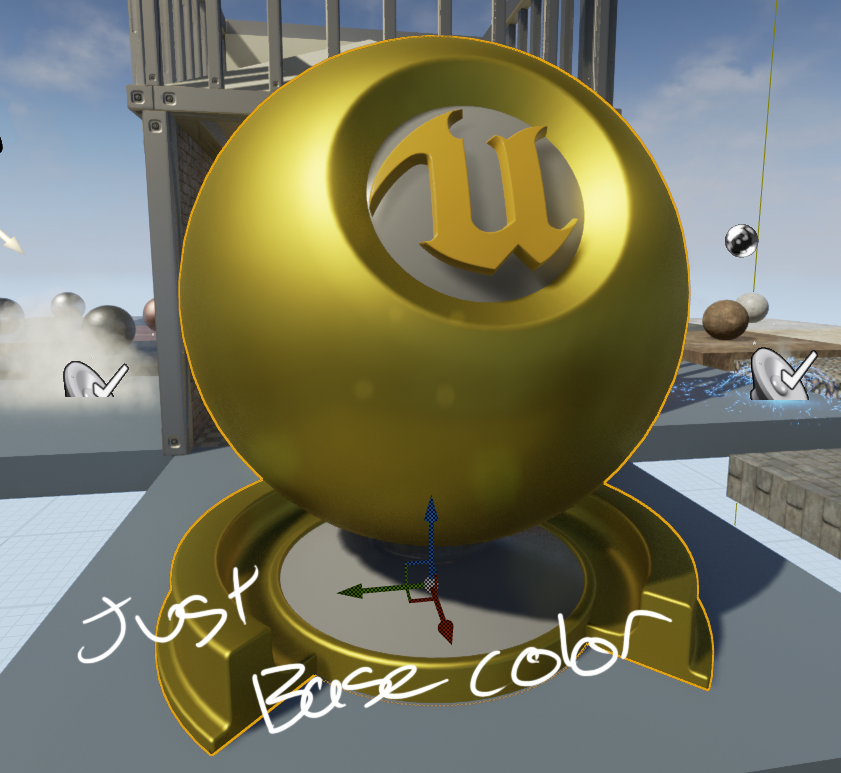
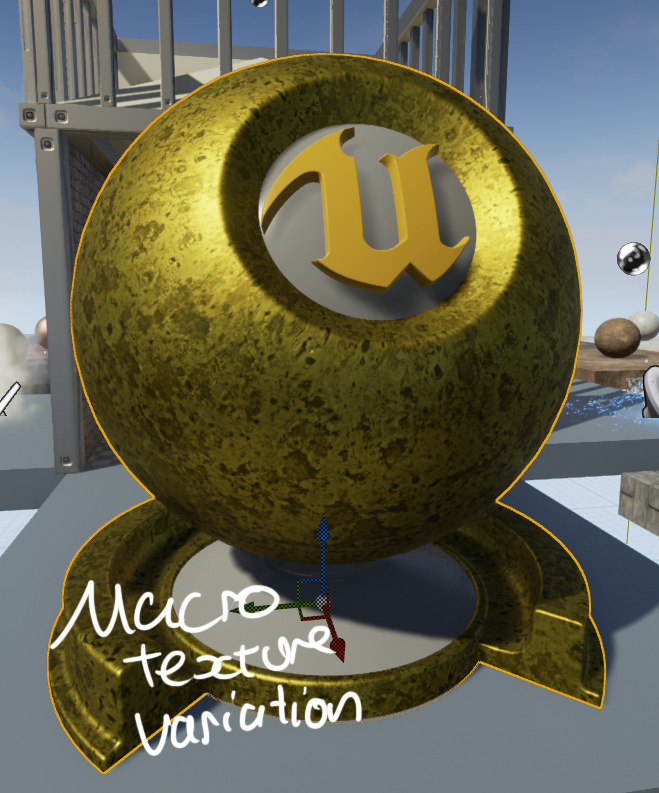
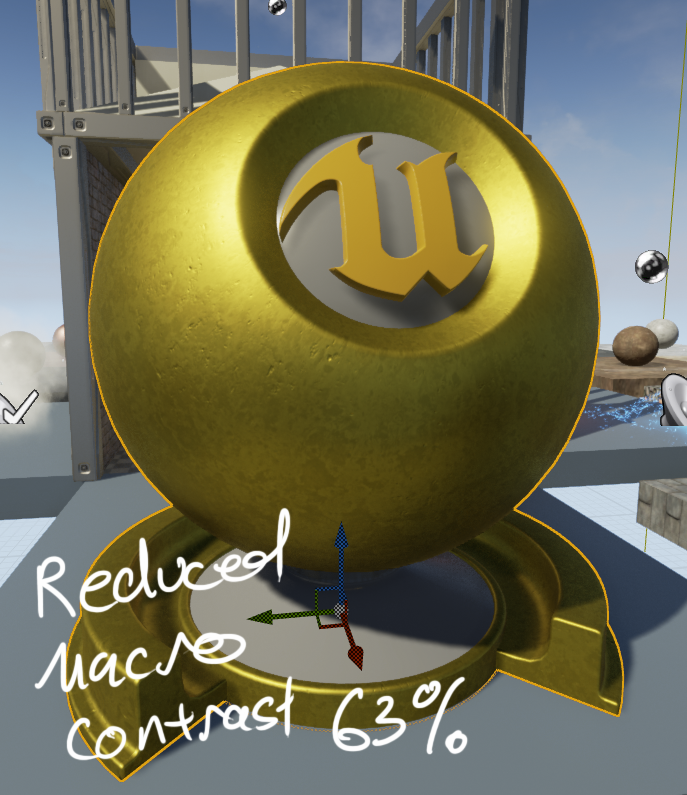
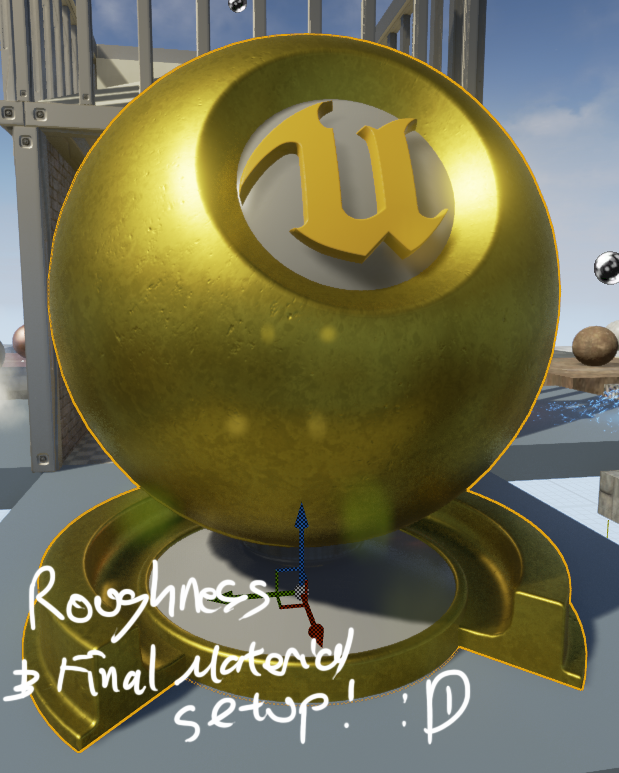
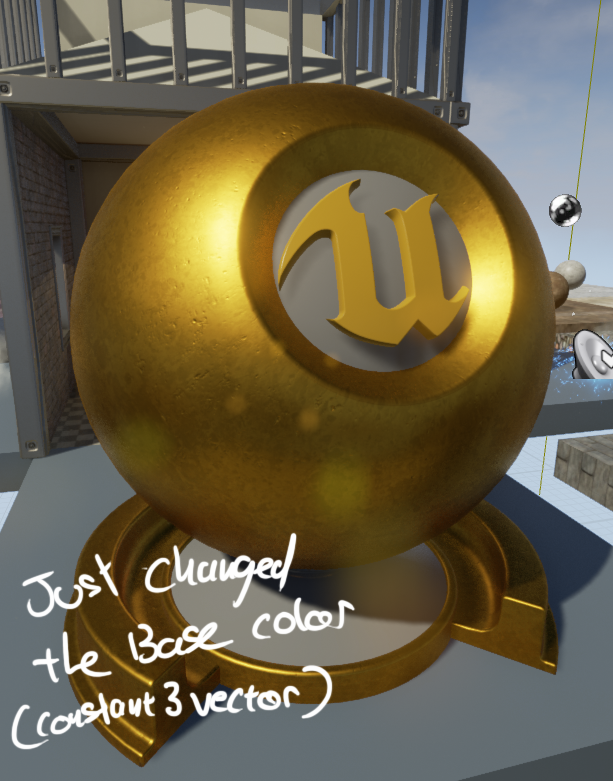
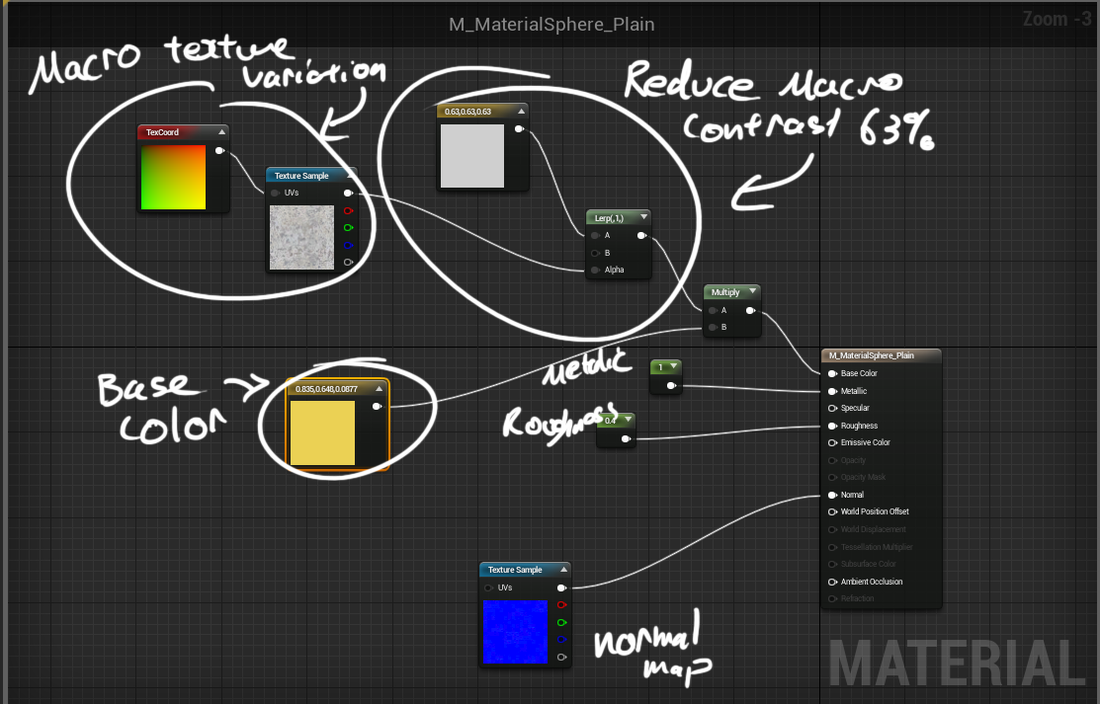
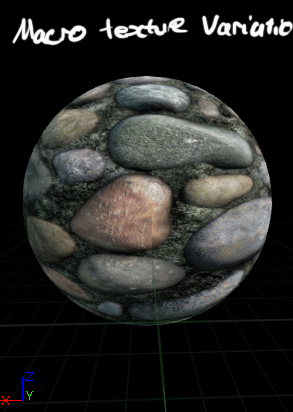
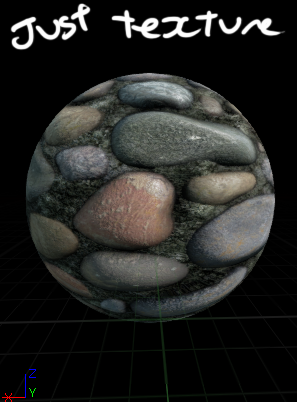
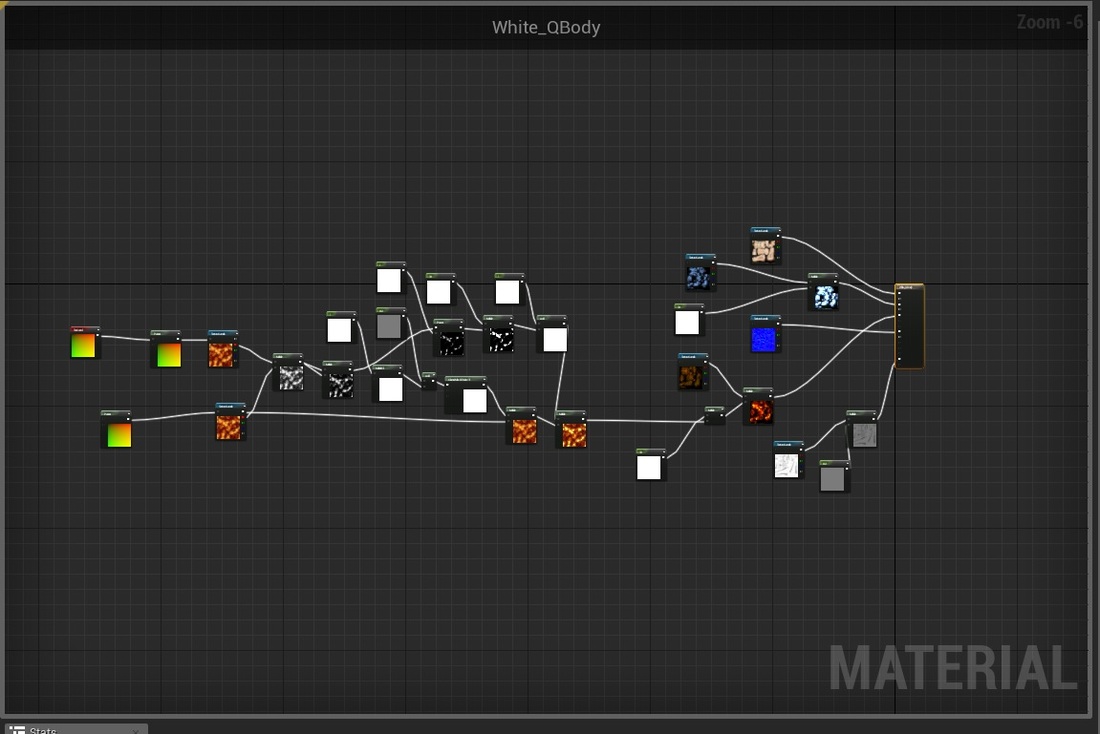
This week i'll show you how material masking works: Within the default UE4 level you can find the model called chair. In the material editor, we can see that it doesn't have the one map that drives the base color like traditional material uses, this network uses RGB masking to tell what channels will be used to create the color in the different parts of the chair. As we can see the only texture samples we have is a normal map and a RGB map. in the RGB map the texture sample actually has 5 different node outputs, the overall texture, the RED, GREEN, BLUE and Alpha channels. in this chair only the RGB colors are used. 3 different color of the materials has being changed, we have the metal frame , the black lining, and the yellow seat padding. In order to link the colors back, they used a lerp function that allows for the different colors to link up. Its kind of like layers in Photoshop so if the areas of the layer has nothing it will not impact the layer underneath it. 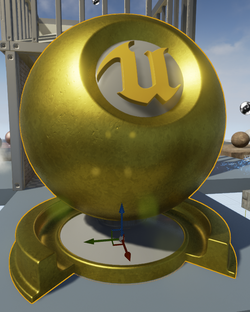 Ok so today I will be building a gold material in UE4 I will try to break down what is happening within the material editor. ( I will be working in the StarterMap in UE4 in default scene) So first up I grabbed Unreal’s material ball and create a new material and call it M_Gold. Instead of using a base texture I used a Constant 3 Vector, this way is I don’t like the gold base I can change it in the engine instead of going 5 steps backwards to the texture and change it in Photoshop. For the Metallic node, I plugged in a Constant node and the value all the way to 1. What I found it is that the metallic acts like the Lambert secular in Maya it gives and overall shine but in UE4 it also has the metallic reflective. I made a constant node with a value of 0.4 plugged into roughness this gives the shine of the gold as well as the lenses flare. Next I plugged in the normal map this give the gold the scratches and dents it usually have when you cast gold. At this stage you can pass with a gold material in a game, this next step adds more detail into the material so it doesn't look so bland. I created the macro variation and to plug that into the base color I used a multiplier node and multiplied it with the Constant3Vector node (base color). As of right now we see allot of detail with the macro variation, so now we are going to tone down the variation. With another Constant3Vector i plugged the macro variation texture into the alpha of the lerp, this is now controlling the opacity of the variation. I used the constant 3 vector like a opacity map, black = 100% opacity and white is 0 % opacity, I put it at 63% opacity. So there you have it a basic Gold Material built in UE4 :D 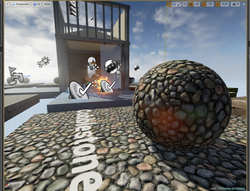 Ok for those who have plugged textures on a model we do it through building textures Diffuse Specular, Normal, and Glow Maps Etc. and then plug it in the designated slots. When we bring it into a game engine the different maps take different effects. So what’s a material? Well a material is how light reacts to the surface, if you notice in Maya there are a few different types of Material pre-sets Lambert, Blin Phuong etc. Each material are for different specifications, what node based Material Editing allows is for artists, is to create a material network visually. Before this system, the programmers write up the scripts for the material. With Unreal Engine 4 and with its Physically Based Rendering, we are able to create Complex Materials quickly and visually see the effects of your shader network quickly within the Engine. This system is very useful when exploring what nodes do when creating a material. When you create a new project you can open a Level Called “Starter Map” in the start-up there is a default floor called Basic floor here the Unreal Team have nicely creating a scene with different types of Materials set upon a scene. When you open up the Material Editor you notice that it is a very simple material, you have a colour a metallic and a roughness. The Base Colour is what we call a Diffuse; back before PBR was introduced Diffuse drove everything, now you can make a simple texture look awesome just by creating a node system Metallic controls how Metal like the Material is going to be and Roughness shows how rough the material is going to be, very simple. You can actually view the material in action in the view port It shows in real time right after the shaders have compiled, this is as simple as it can get. Now take a look at the Cobblestone Pebble material. Upon opening the Material at first i was overwhelmed by the sheer complexity look of the material, but upon further knowledge and understanding this is a very basic material. Back before PBR you would only need to build complex texture, but with PBR we can make materials look good and be uncontrolled what is pushed and pulled. The texture itself is actually located in the centre of the node network there are 6 main maps that are used to build this texture. On the bottom left, here we can see that we have a black and white version of the diffuse map. We have a black and white texture that drives the height of the material this it is plugged into a normal map before it is plugged in the normal node.Materials control light reacting on the model, the Specular is passed through a multiplier and the multiplier stated to be x4 of the original texture. The Macro Texture Variation is just for some differentiation on the texture you can see the comparison when i take off the material Node Base Material System more powerful than ever!!!! The Character Assignment require us to create a character from start to finish. Conception, High to Low poly workflow, Sculpting, Poly painting (A lot of fun) Re topology with 3DCoat, by the time we just started to animate i have not touched a maya scene for this assignment which was all ready 70% in the time given to us. honestly my initial plan did not follow through, spent too much time on the sculpt, but the final character sculpt was satisfying. Throughout the Assignment i learnt how to: Use ZSpheres, Retop with 3DCoat, Skinning in Maya, Node Base Material Editor in UE4 ,Particle Editor (Cascade Editor) in UE4, Animation BluePrint and Blend Space in UE4 I will try my best to update my blog for my long term study of my chosen subject, Node Base Material editor, and also will try to do the same with Particle Systems in UE4 Figuring out how to see this site, so far this website has a lot of potential love it :D
| AuthorWrite something about yourself. No need to be fancy, just an overview.  ArchivesOctober 2014 Categories |


 RSS Feed